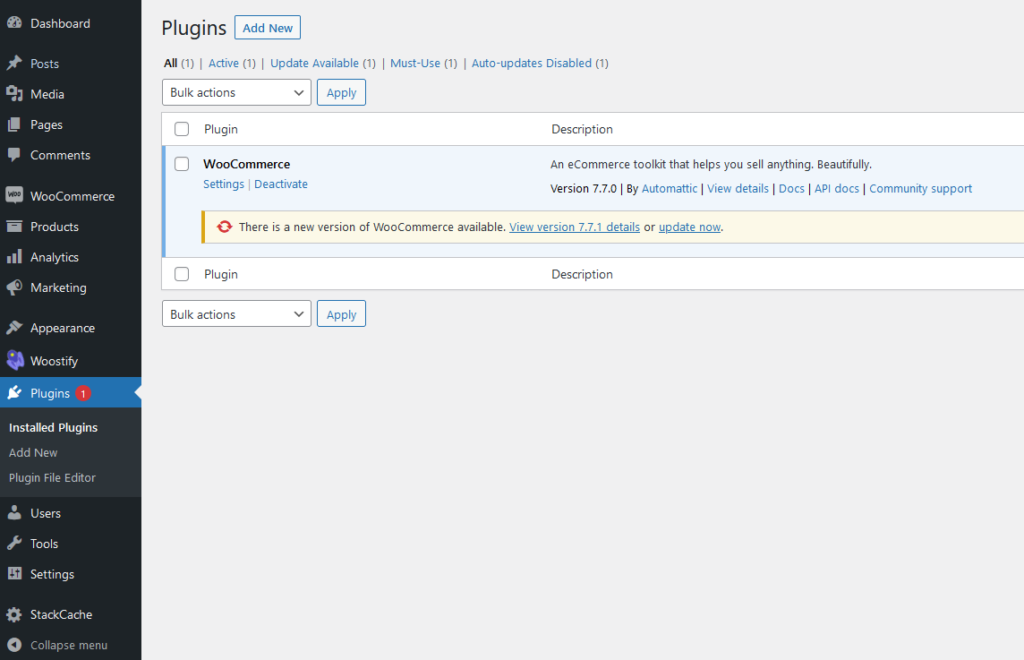
1- Select the Plugins menu in your WordPress Dashboard. In there click on Add New button.
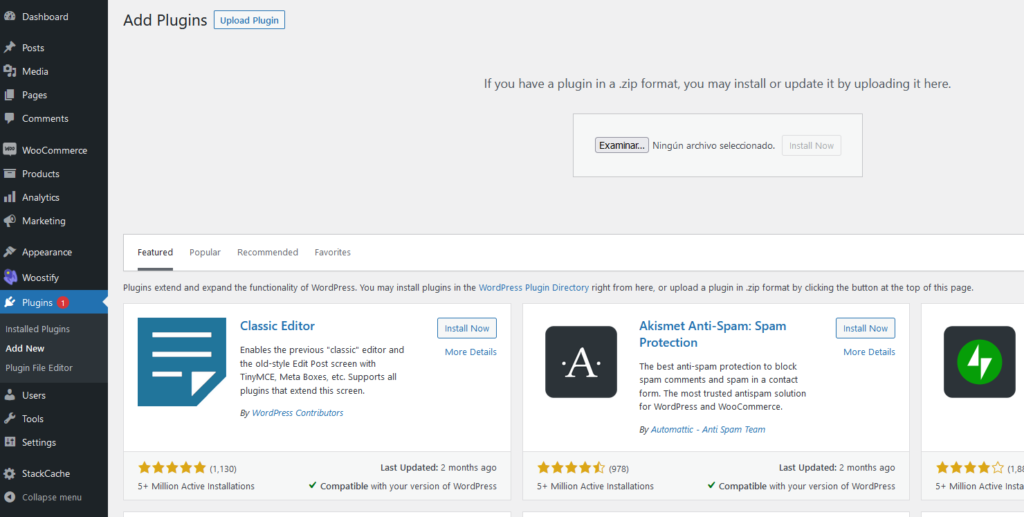
2- Once you are in there click on the Upload Plugin button and after that look for the zip file that contains the plugin.
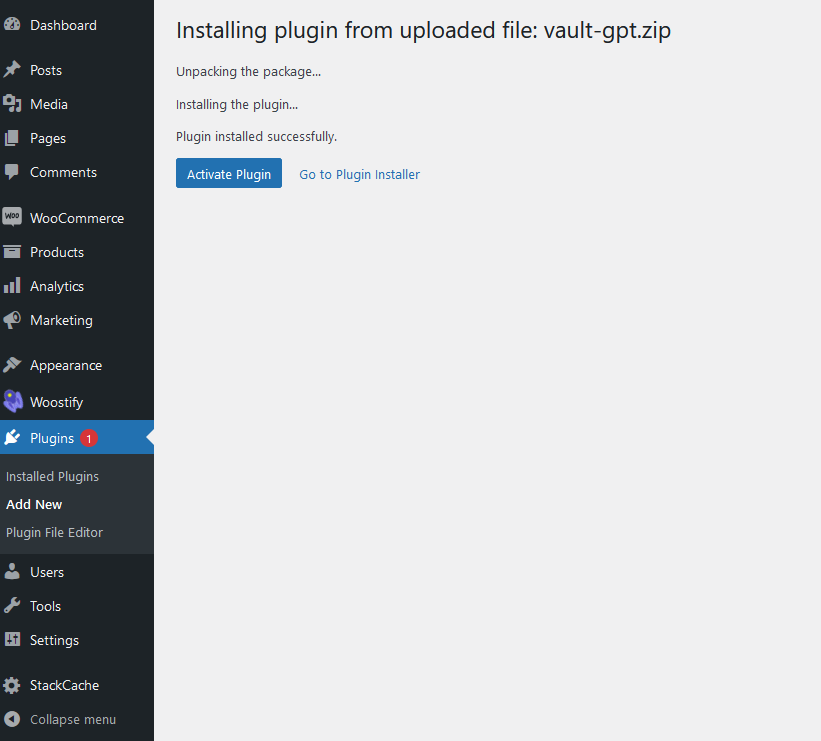
3- You should see an screen like this. Click on Activate Plugin Button.
4-If everything went well you will see the plugin activated and a new menu will appear in your Dashboard: Vault GPT. Note that the position may change depending on your other items.
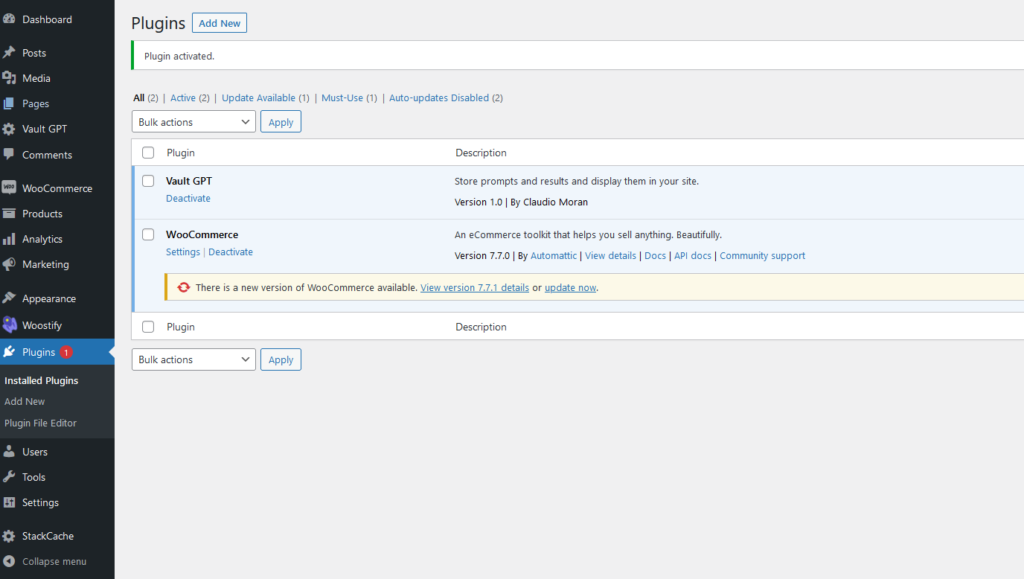
5- Once you click on Chat GPT you can create a new category. After you generate one it will provide the shortcode to paste on your site and see the chat window. Note that you need to at least create one Topic in order to see it displayed properly. To do that, click on Edit Topics.
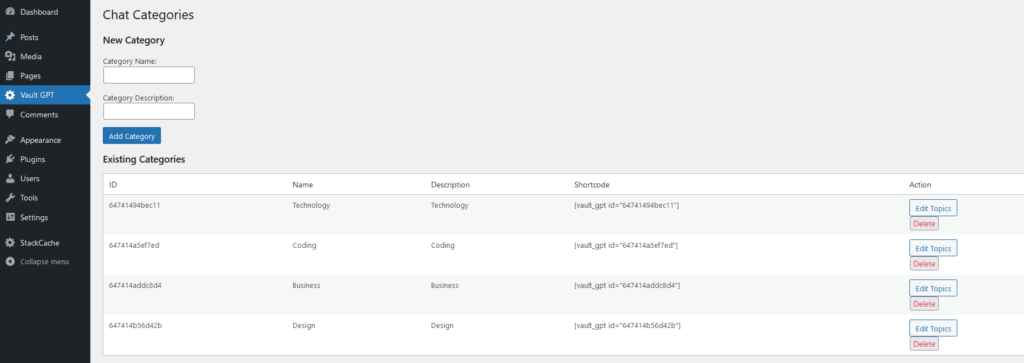
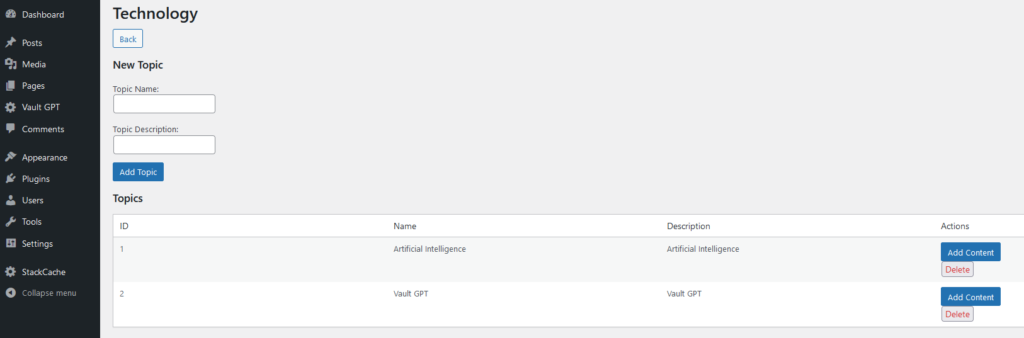
6- Once in there, create your Topic. To move to the next step click on Add Content to add items to the conversation.
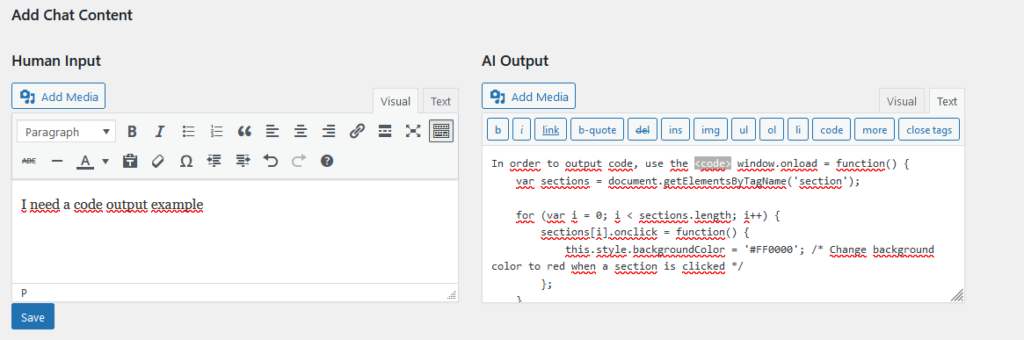
7- Start adding your content. Note that Vault GPT uses the WP Editor, so you will have to format your text there, as when you copy and paste directly from chatGPT may not give you the expected result, since there is no format on that text.
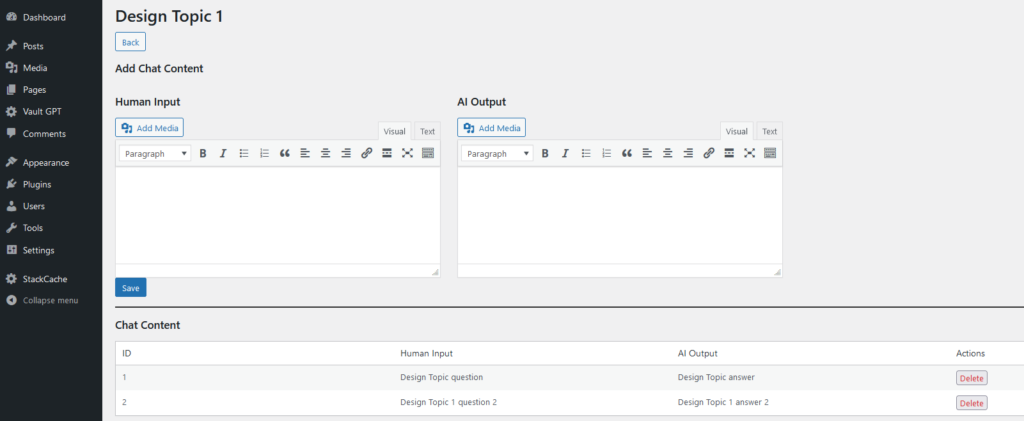
In order to add code you will have to add click on the Text tab, and right before adding your code, click con the “code” button. This will create a tag <code> . After you are done putting the code content you have to close it using </code> . After that you can continue writing.